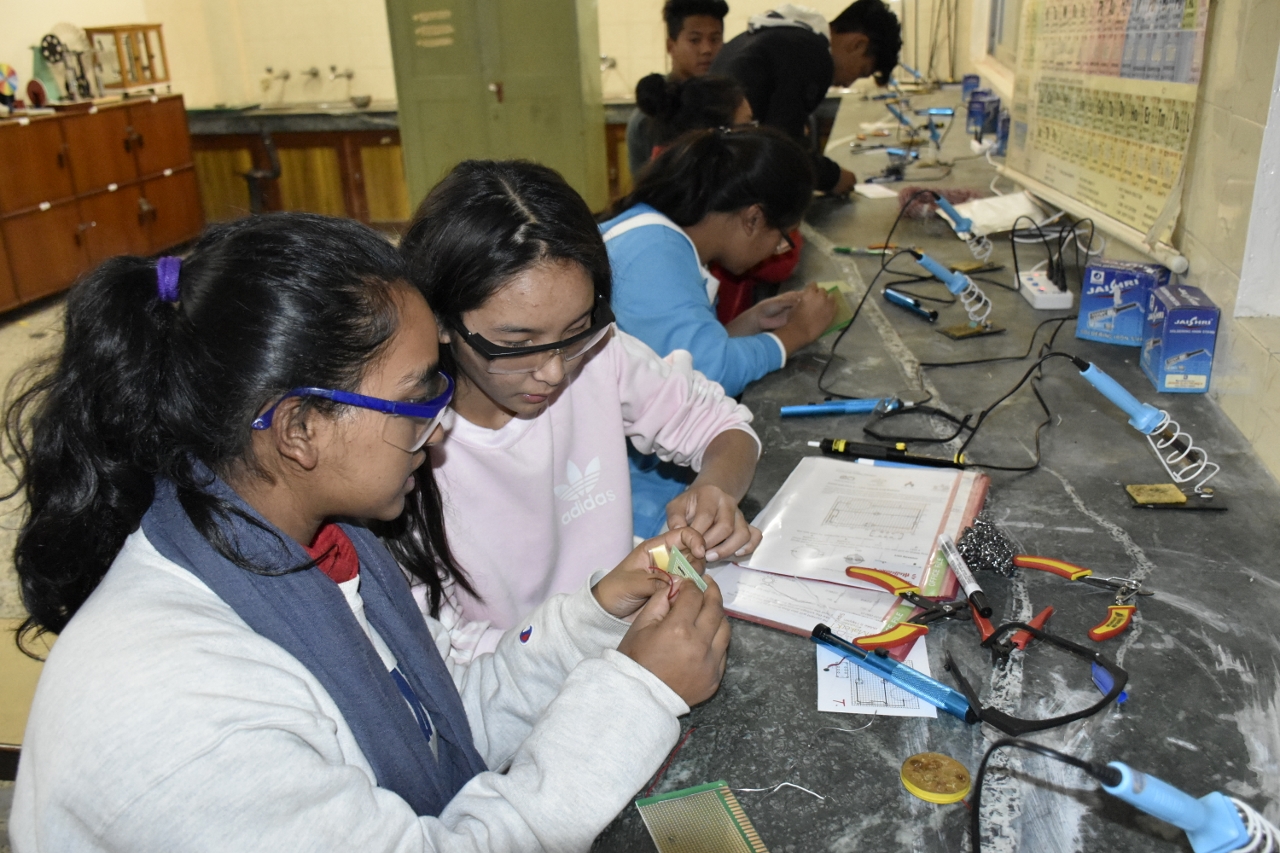
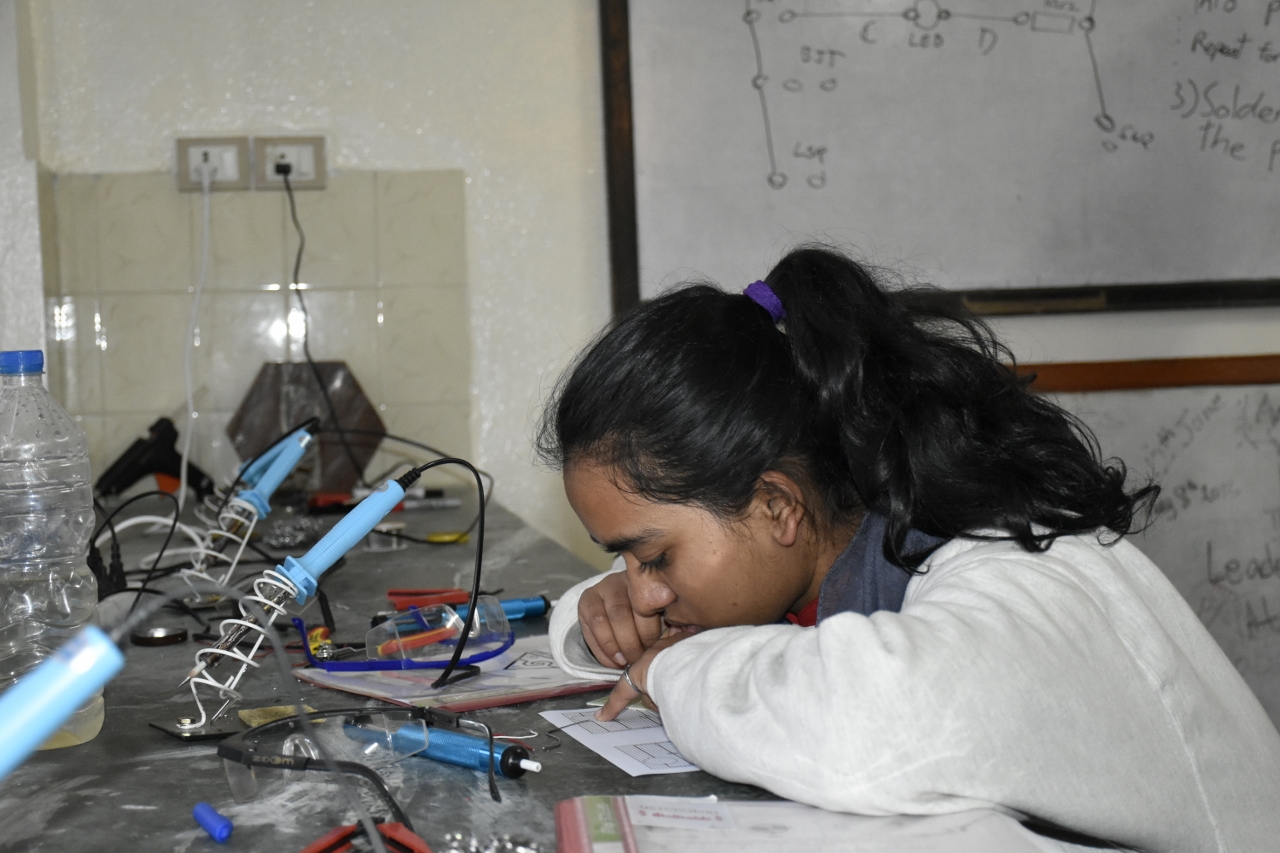
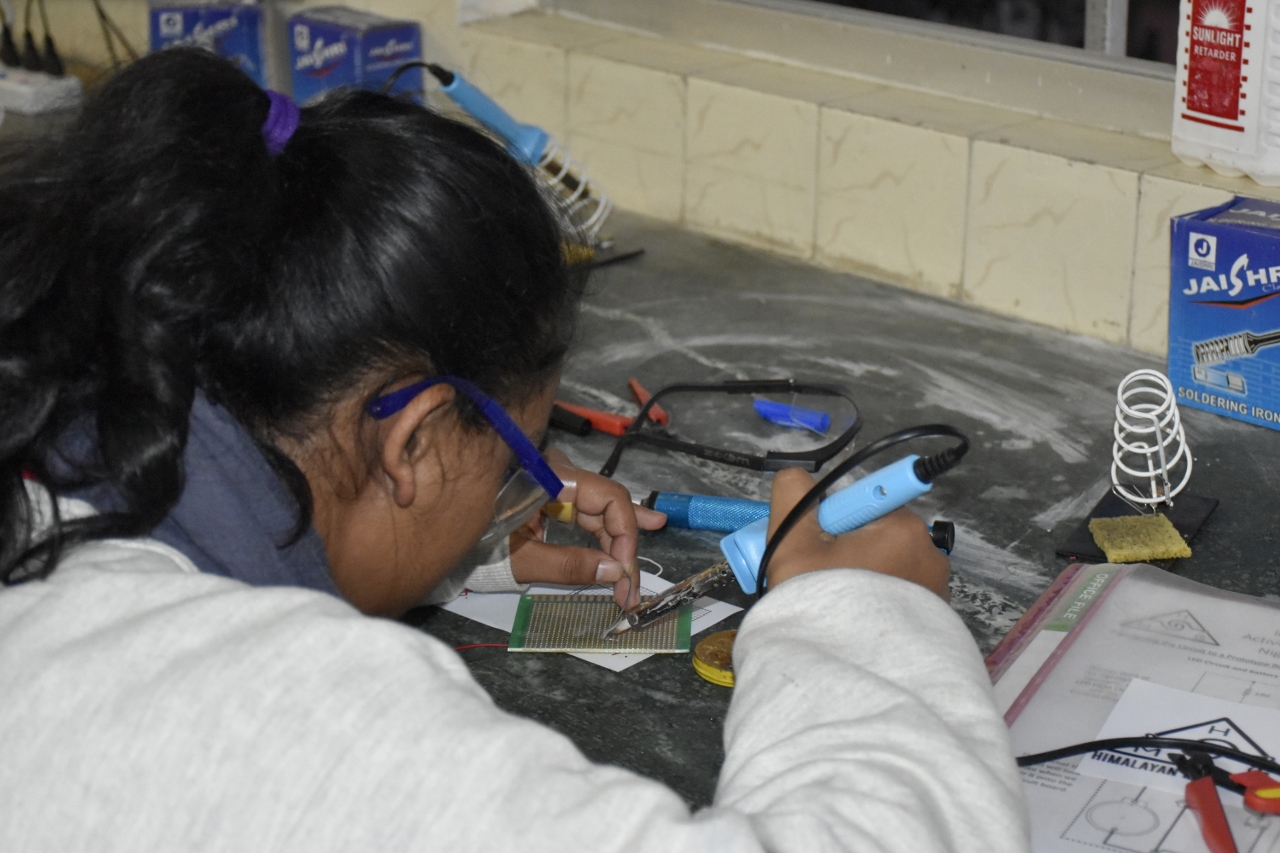
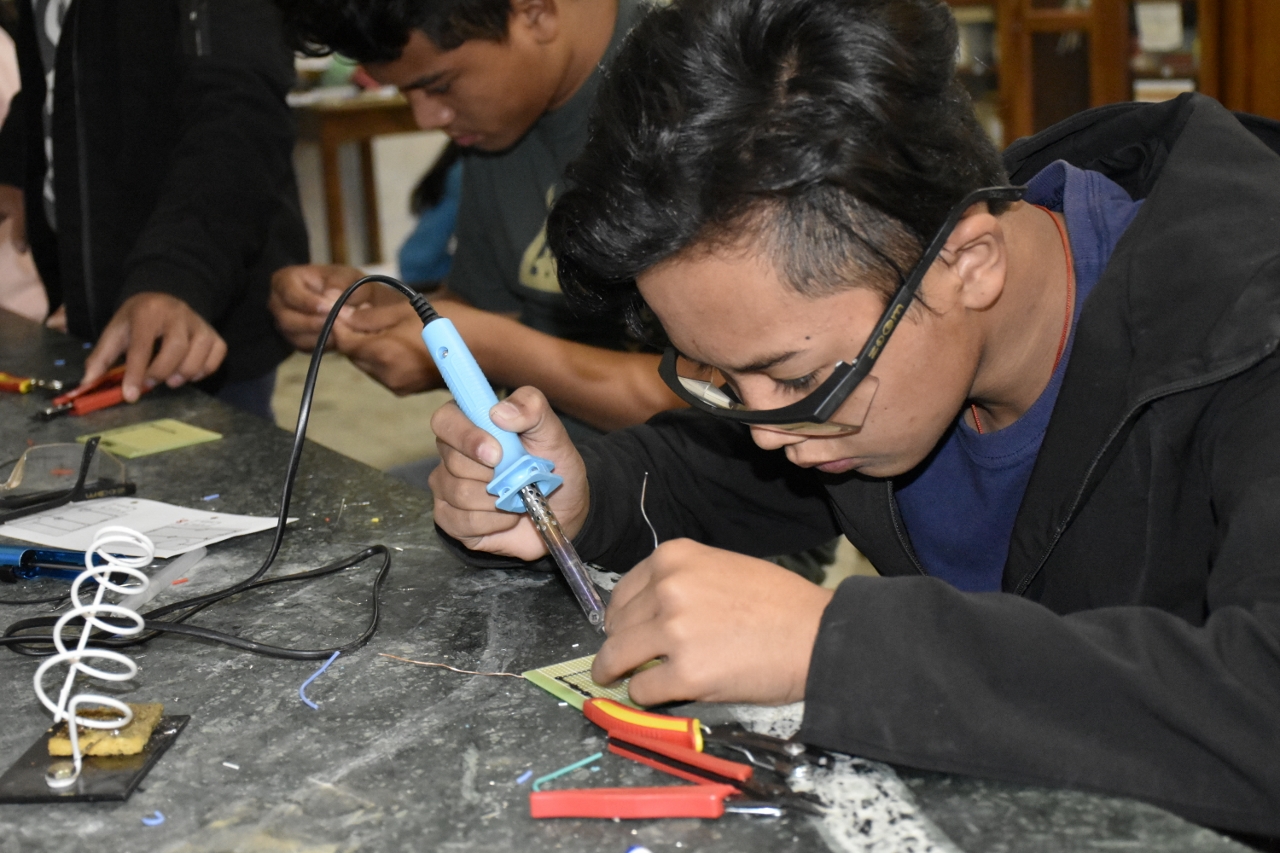
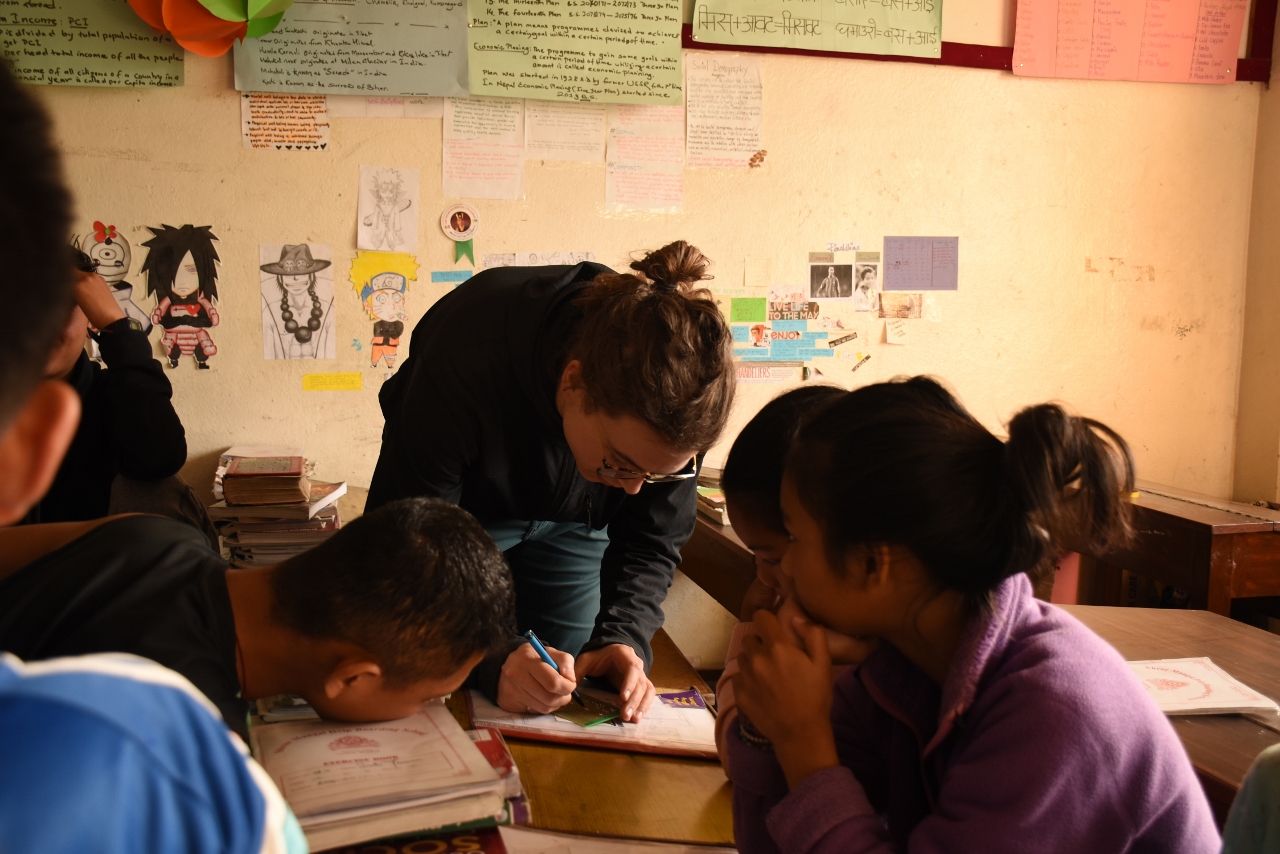
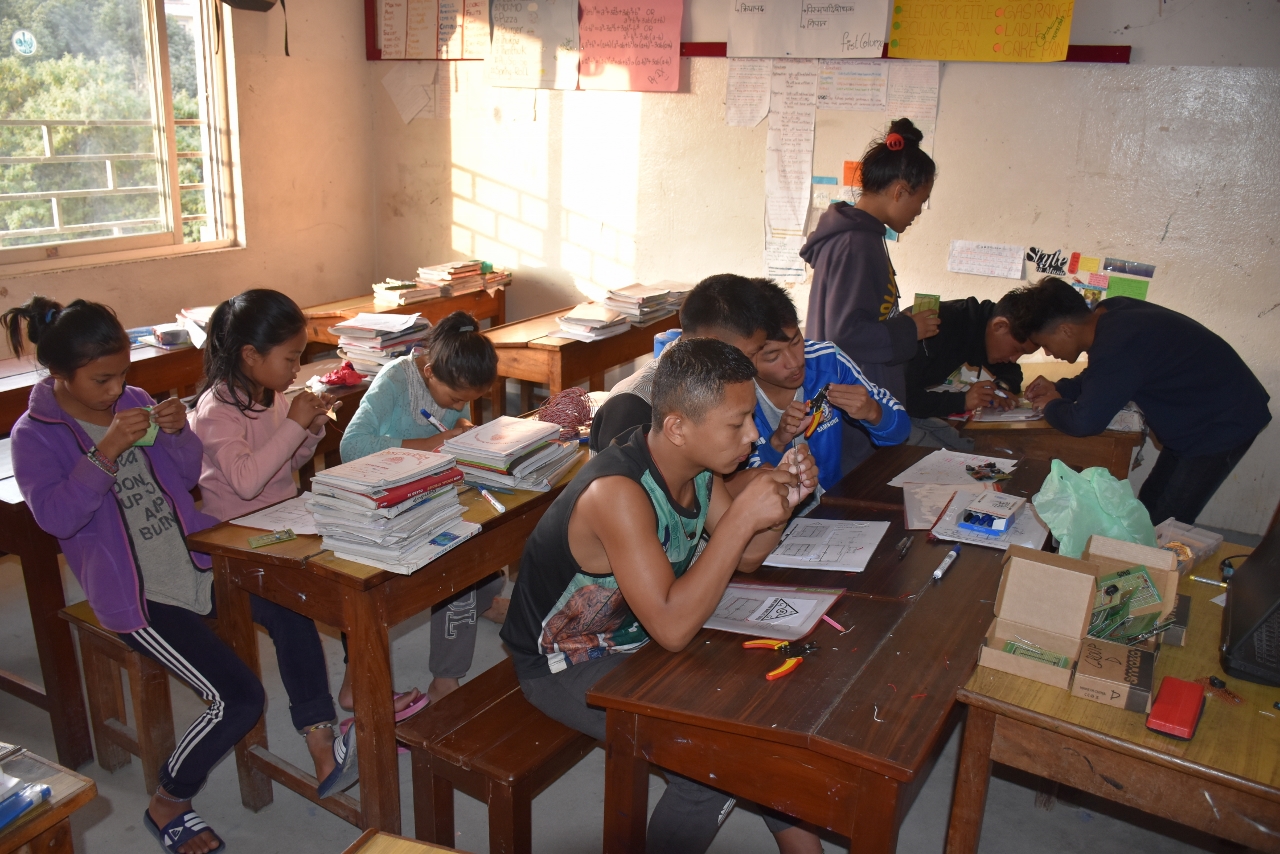
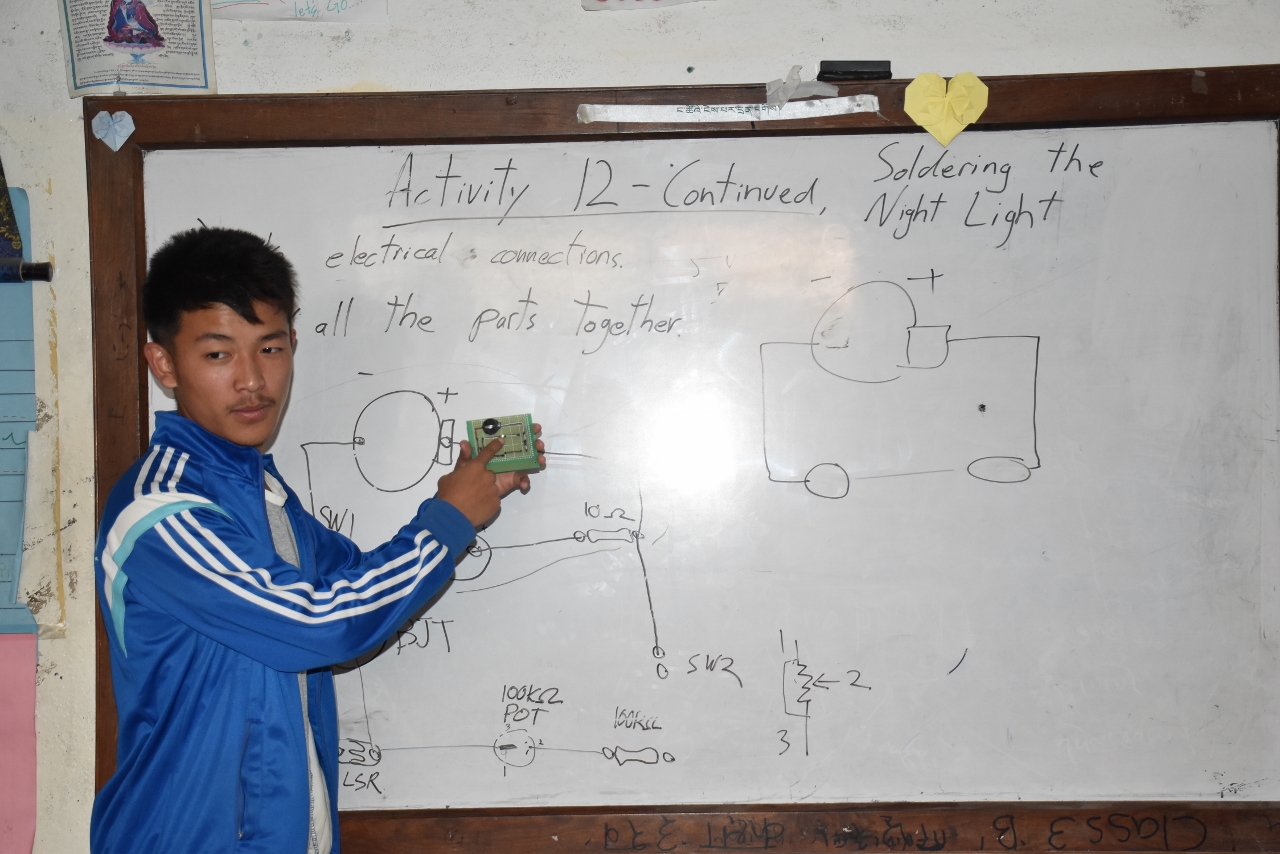
Activity 12 was the culmination of Activity 9, 10, and 11. The objective was to have the students build a useful circuit that they could solder onto a permanent circuit board. In the process, they were introduced to light-sensitive resistors, voltage dividers, transistors, Ohm’s Law, and how to read resistor values. Finally, they were able to test their soldering skills by building a night-light circuit. The light has a button to make it turn on like a flashlight, and a switch that can be thrown to make it turn on automatically when the room becomes dark.
The activity was split into two parts, done on consecutive Saturdays in late November. It was the first of the Himalayan Makers Guild activities that did not go as expected, and required a lot of revision both during the activities and after. I have redesigned the activity based on my experience in the classroom, and it has yet to be tested in its current form.
The circuit was too ambitious for beginners to solder together in two one-hour sessions. This became apparent with the first group of students. Here are the key revisions I’ve made to the activity:
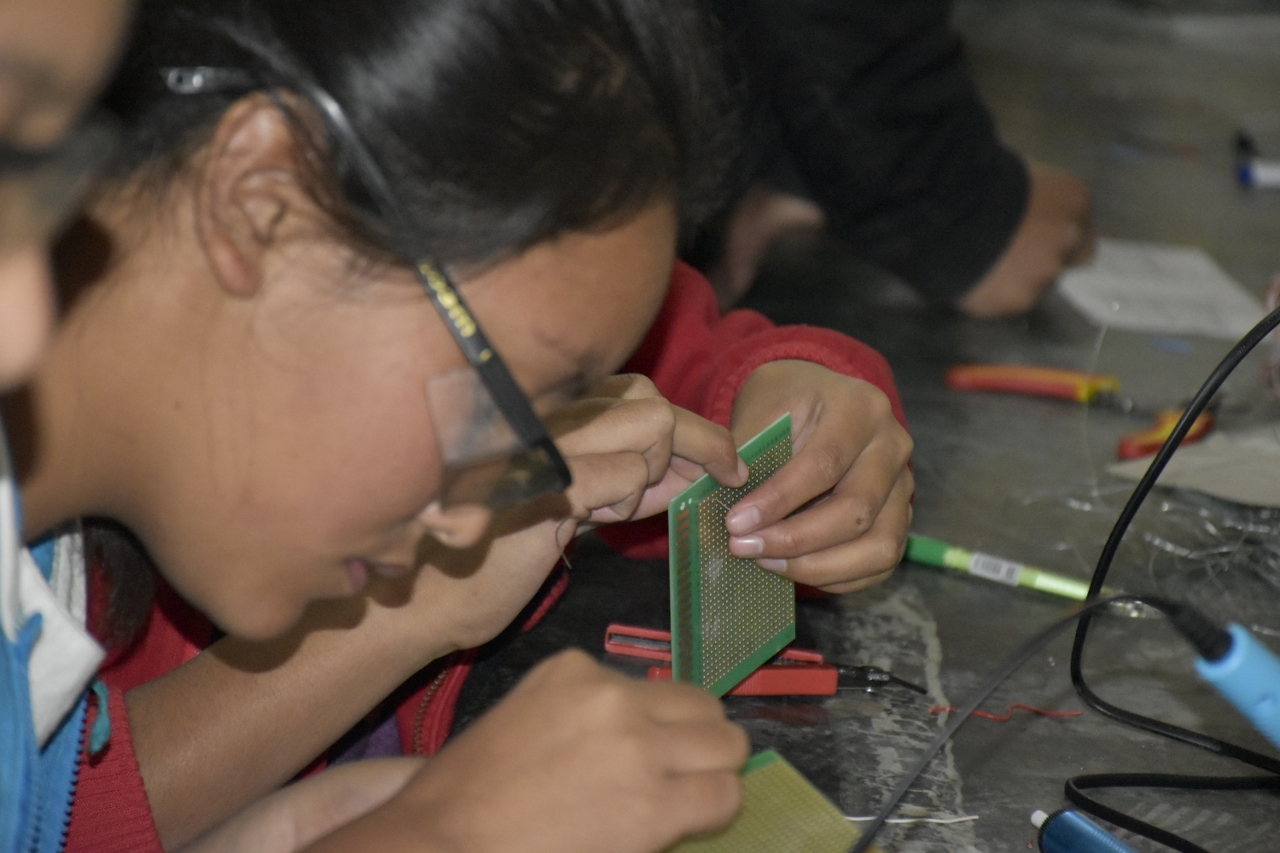
- The objective has been changed from soldering the entire circuit (9 parts, 7 wires) to soldering only the LED light part of the circuit (4 parts, 4 wires)
- The night-light circuit now includes a button for turning the light on, rather than using a two-way switch (on - off - nightlight) to make it easier to test the LED light part of the circuit on its own.
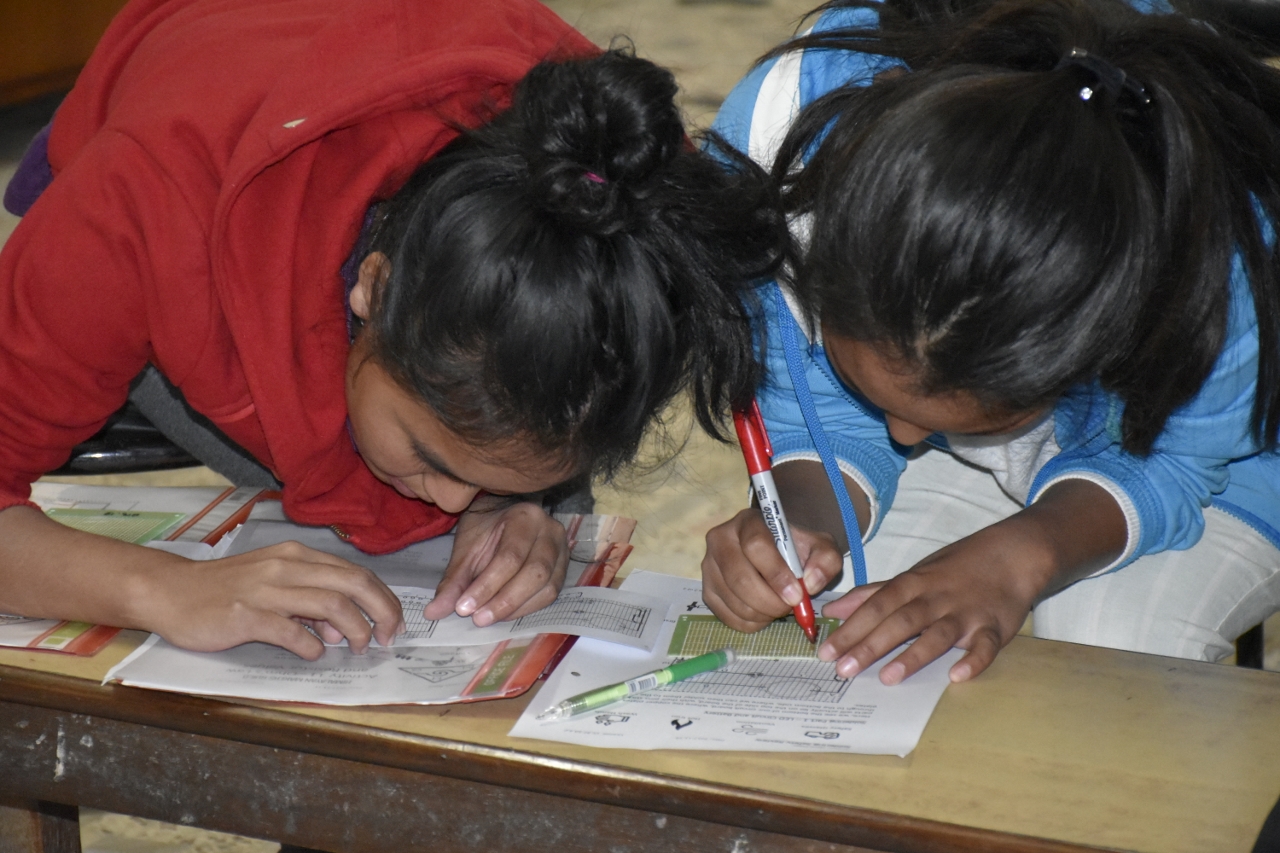
- Part 1 of the activity now focuses exclusively on wire placement, while part 2 focuses on part placement and soldering
- The instructions have been broken down into their smallest steps, starting with positioning the first wire on the circuit board
- The student handout has been updated to show these small steps explicitly, rather than emphasizing the end-goal
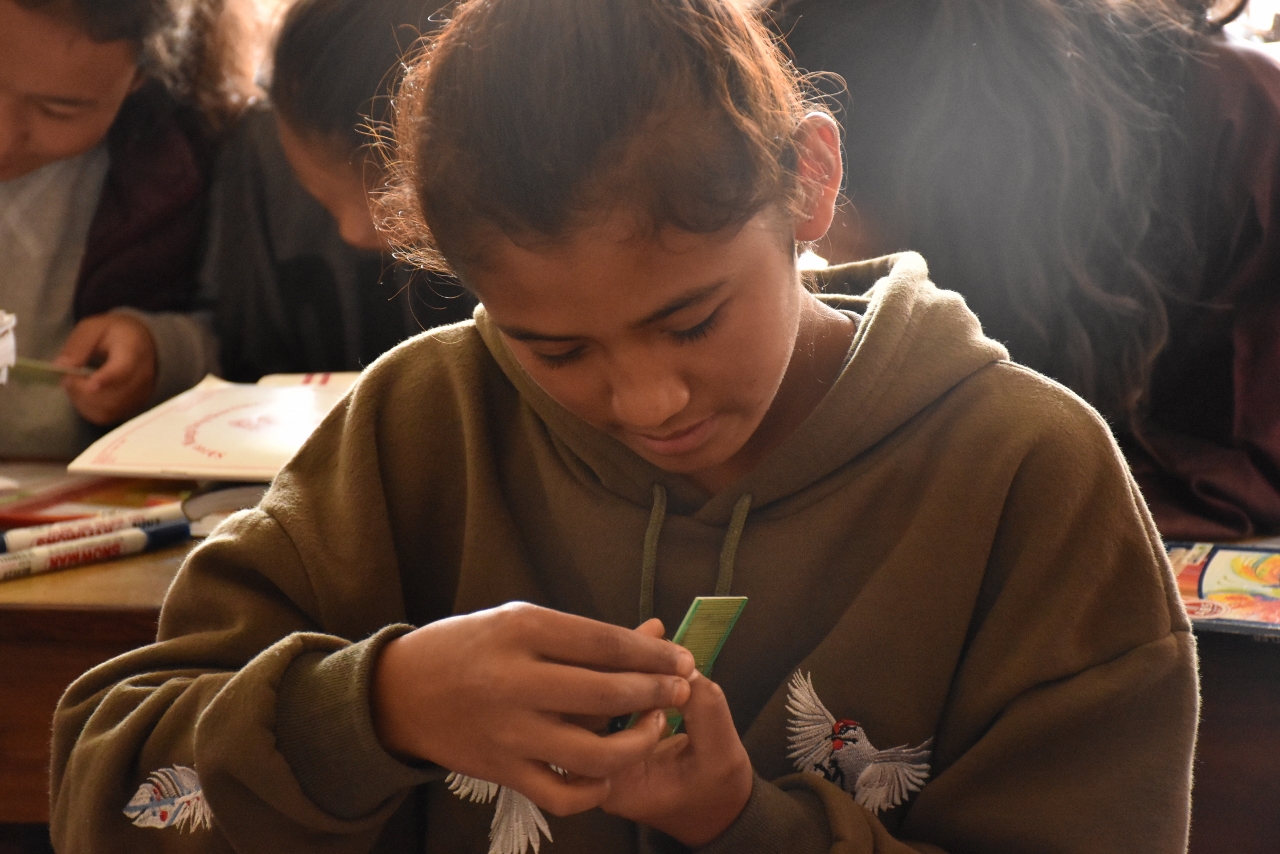
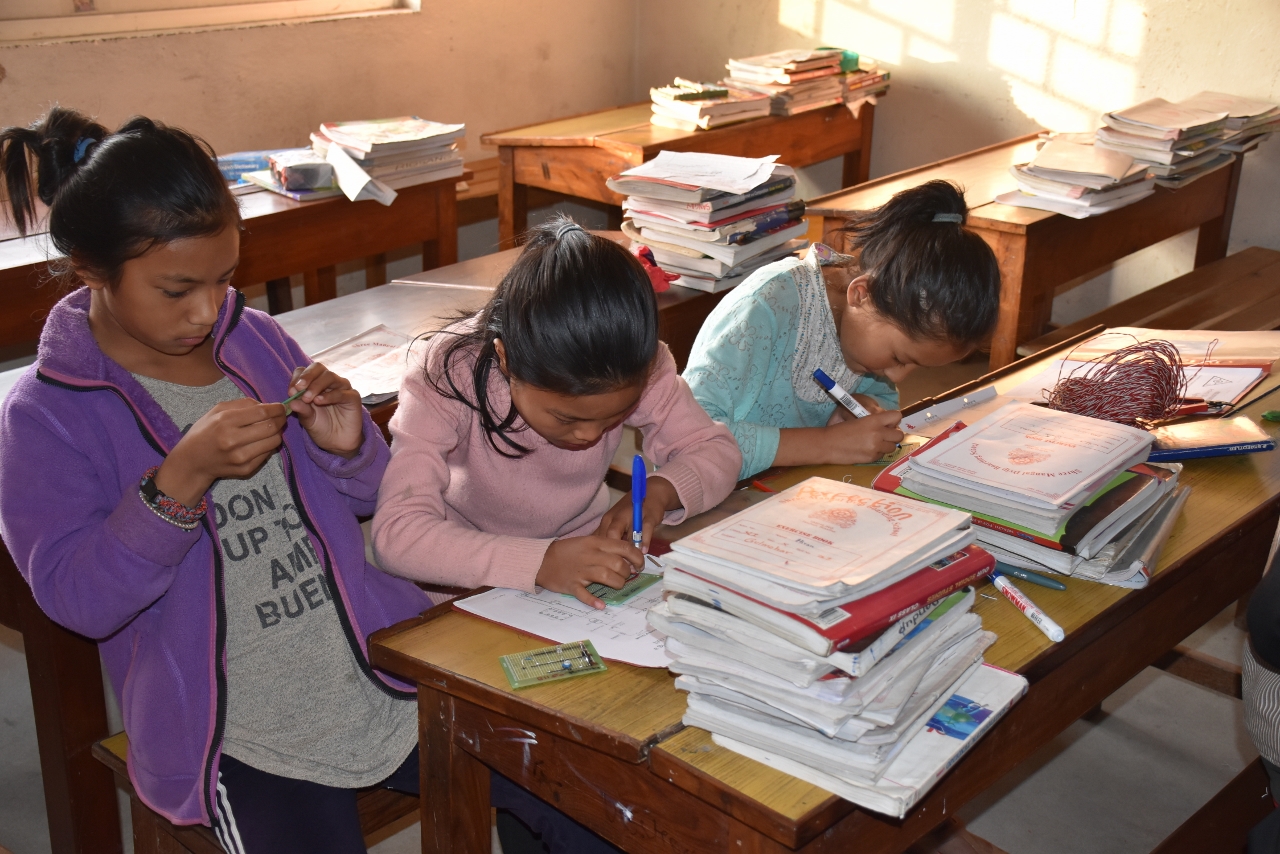
As of January 1st, 2018, only about 6 students have successfully completed the night-light circuit. Most of those students are Team Leaders, and all of them spent extra time outside of the activity sessions to complete the circuit. The activity offered the students more soldering experience, but I fear that more were left frustrated than inspired. This won’t be our last soldering activity, and I hope to rekindle their interest with a more approachable and rewarding activity.
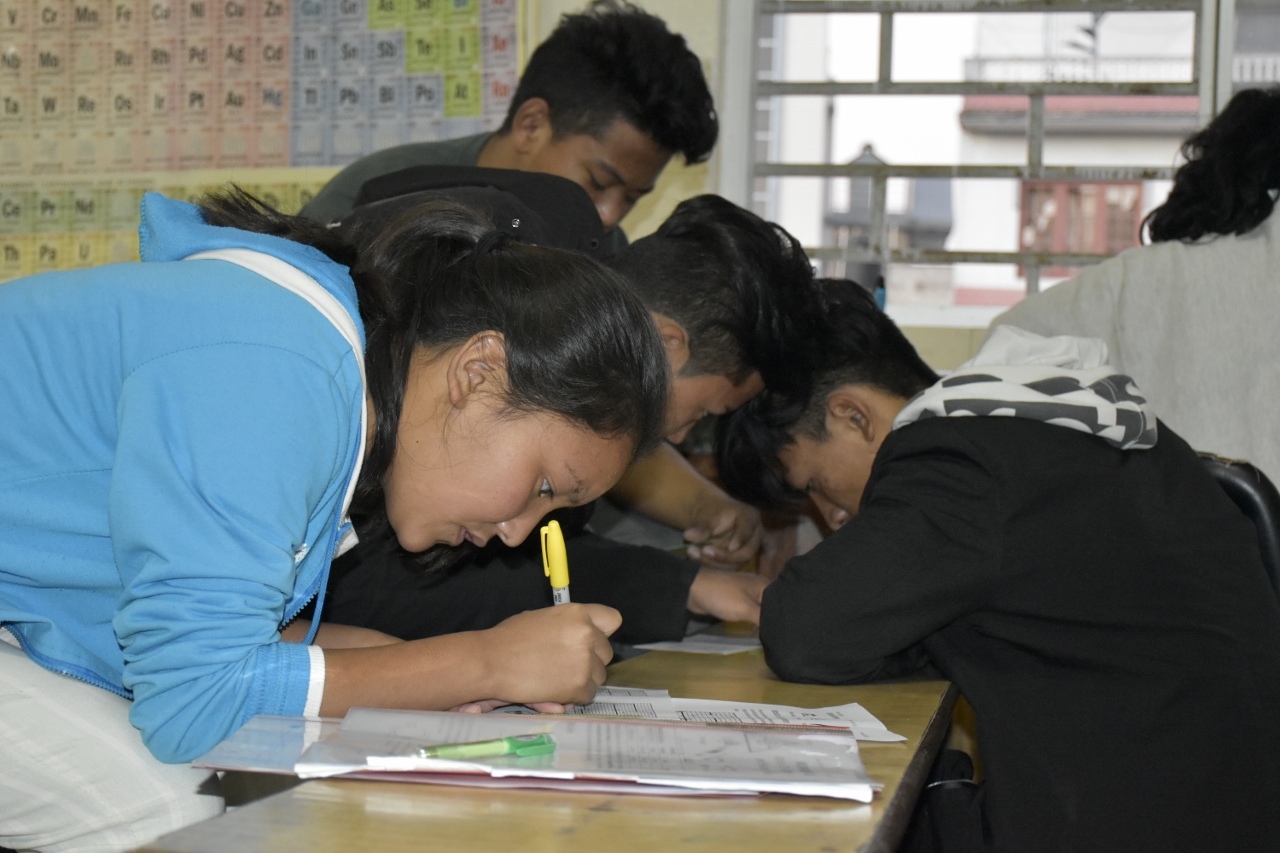
14 boys and 24 girls attended the activity (38%:62%). The cost of parts for a single student to build the circuit was $1.79 CAD, bringing the cost of the two-session activity to $68 CAD.
Activity 12 was created as a Free Cultural Work and is available for use and adaption under the CC BY-SA 4.0 license. If anyone uses this revised lesson material, I would enjoy hearing from you and getting your feedback!
If you’re interested in seeing how the activity started out, the original draft of the handout for part 1 of the activity can be seen here: Activity 12 Student Handout - OLD.